Setting up a new company file in QuickBooks Online can be intimidating at first. You may be wondering – what if you mess it up? You’ll be glad to know that setting up a new company file in QBO is very easy and you can do it in a few simple steps. In this post, I’ll show how to do it step-by-step.
Select which version of QBO you will use
At this point, you should have already selected the right version of QuickBooks Online. If you are not sure, check out my blog post on “Which QuickBooks Online Version is Right for Me?”
Sign up for QuickBooks Online
Once you decide on the best version for your business, follow this link to begin the signup process. Remember, you get 30 days free if you decide to change your mind.
Fill out the questionnaires
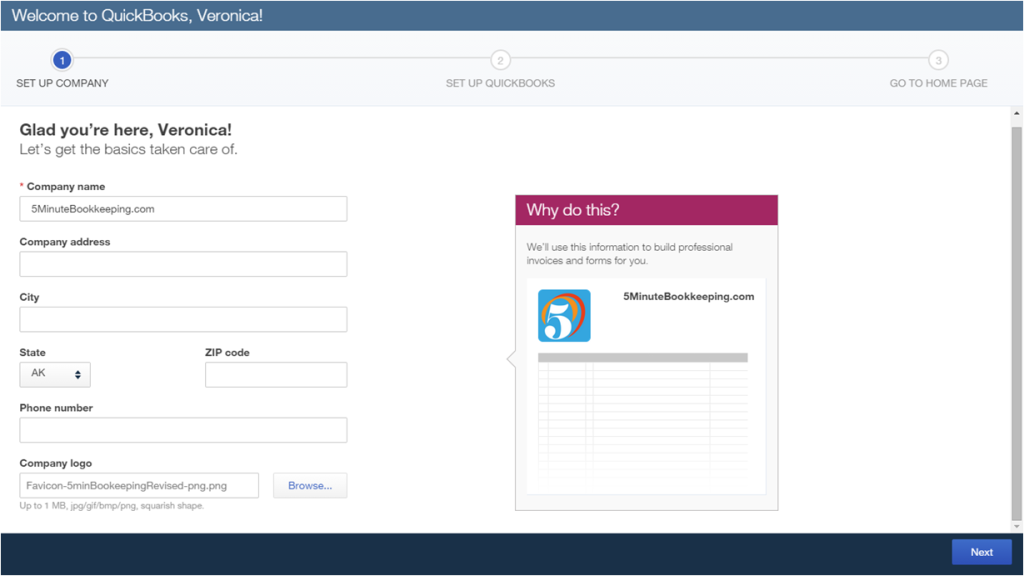
First you will see a welcome screen, simply enter the required information in the appropriate fields.
At this point, you can upload your logo also.
Next, you will see the Tell Us More window. Fill in the requested fields. Don’t worry; you will be able to change these fields later in the company settings if you need to.
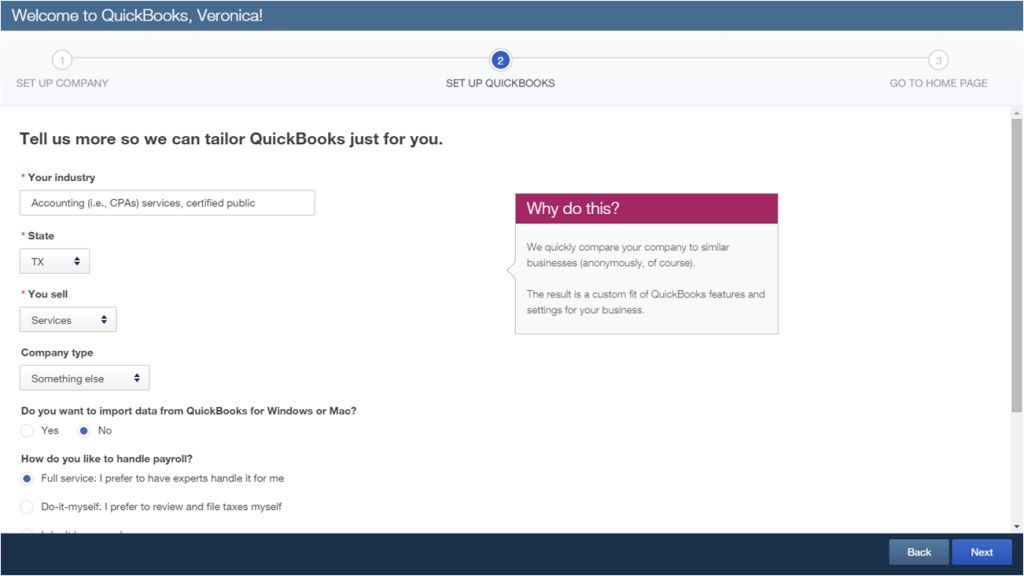
Once you have completed the questionnaire, QBO will begin a customization process to create a chart of accounts and enable company settings.
Wait for the magic to happen
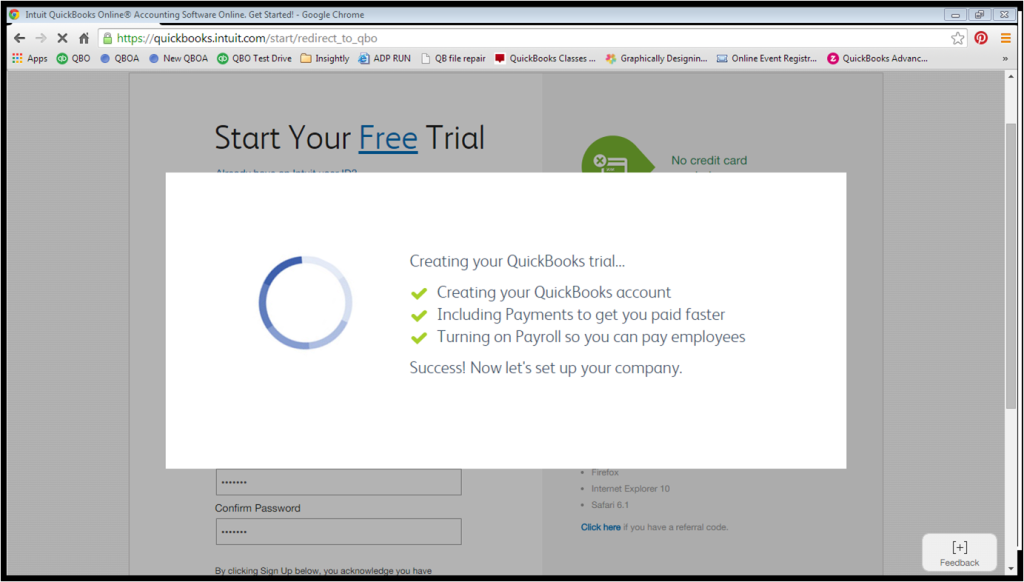
Next, QBO sets up your company based on the information you provided.
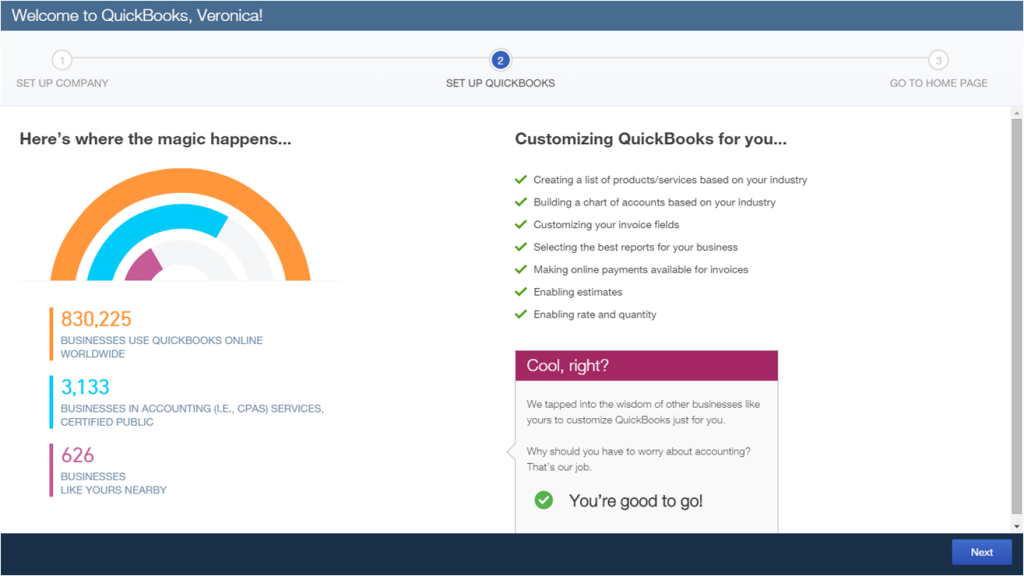
Here is where the magic happens. While you wait, QuickBooks sets up lists like the chart of accounts and the products and services list based on your answers to the questionnaire. You can customize these lists later to your specific needs.
It also customizes invoice fields and enables specific company settings based on the answers you provided.
Ready to get started with QuickBooks Online
It’s that easy. When the initial set up is completed, you will see the Home screen as shown below. You are ready to start working on QBO.
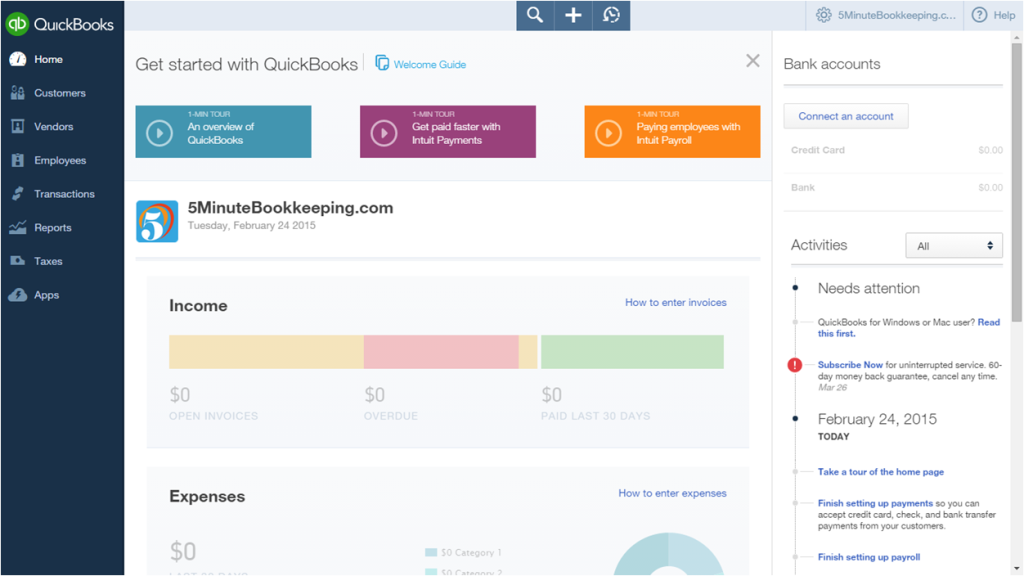
Keep in mind, once again, that QBO does its best to customize the company settings based on your company and industry. Every company is different; I’ll cover how to customize company settings in a future blog post.
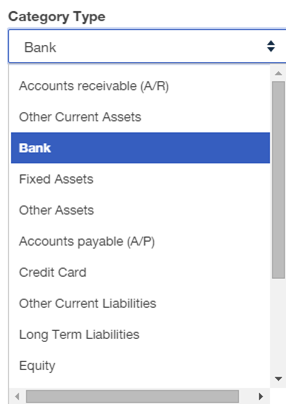
Add a business bank account to the chart of accounts

Next, I recommend that you add your business bank account to the chart of accounts.
Click the Gear Icon on the upper right and select Chart of Accounts.
Click New in the upper right.
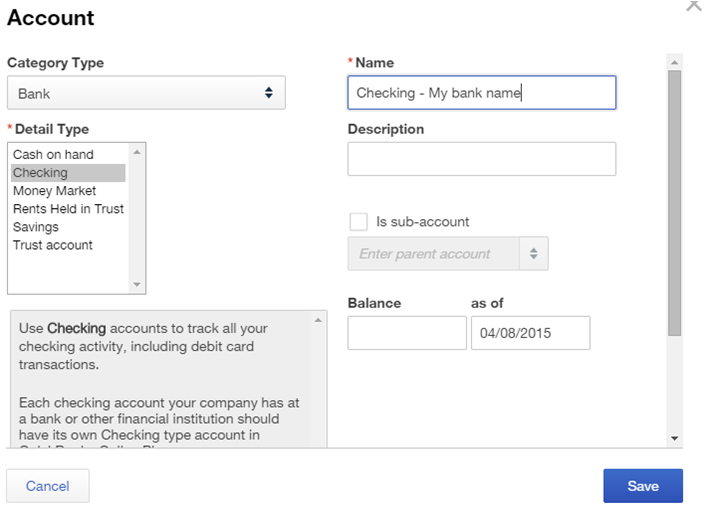
Select Bank from the Category Type
Select the appropriate Detail Type – in this case we will select Checking for a bank checking account.
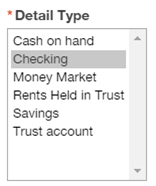
Enter the account name in the name field.
Leave the description and Balance fields blank.
Click Save.
What to do next?
You can learn more on the basics of QuickBooks Online by downloading our free EBook “The Simple Guide to Getting Started in QuickBooks Online, and Avoiding the Most Common Mistakes New Users Make”. You will also gain access to our free tutorials which you can download and watch at your own time.
SlideShare Presentation: